Achieving a flawless, seamless makeup look often starts with the foundation. As the base for your entire face of makeup, getting foundation application right is key to an airbrushed, filter-like finish.
Whether you’re a makeup novice or a seasoned pro, mastering the art of applying foundation can transform your complexion.
In this comprehensive 2,500-word guide, we’ll cover everything you need to know about choosing the perfect foundation and perfecting your application technique for complexion perfection.
From understanding foundation basics to customizing your routine, you’ll be on your way to a radiant, even-toned complexion in no time.
Understanding Foundation Basics: Choosing the Right Formula and Shade for Your Skin
What is Foundation and Why is it Important?
Foundation is a makeup product designed to even out skin tone, camouflage imperfections, and create a smooth, uniform base for the rest of your makeup.
By minimizing the appearance of things like redness, dark spots, and uneven texture, a good foundation lays the groundwork for a flawless makeup application.
But foundation is about more than just coverage the right formula and shade can also help hydrate dry skin, control shine on oily areas, and even out your complexion for a radiant, youthful glow.
Choosing the best foundation for your unique skin type and tone is the first step to achieving a seamless, natural-looking makeup look.
Determining Your Skin Type and Undertone
Before you can find your perfect foundation match, it’s important to first identify your skin type and undertone.
Skin types can range from dry and sensitive to oily and acne-prone, while undertones are categorized as cool, warm, or neutral.
Skin Types:
- Dry: Skin feels tight, flaky, or rough with minimal oil production
- Normal: Balanced oil and water levels, with no severe dryness or oiliness
- Oily: Skin appears shiny or greasy, with enlarged pores
- Combination: Oily in the T-zone (forehead, nose, chin) and dry on the cheeks
Undertones:
- Cool: Features hints of pink, red, or blue
- Warm: Has yellow, peachy, or golden tones
- Neutral: A balance of cool and warm tones
Determining your skin type and undertone will help you narrow down the best foundation formulas and shades for your unique complexion.
For example, those with dry skin may do best with a hydrating, dewy-finish foundation, while oily skin types may prefer a mattifying, oil-controlling formula.
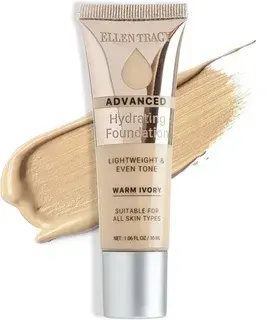
Exploring Different Foundation Formulas
Once you know your skin type and undertone, you can start exploring the different foundation formulas on the market.
From lightweight liquids to full-coverage creams, there’s a formula to suit every skin type and desired level of coverage.
Common foundation formulas include:
- Liquid: Offers medium to full coverage with a natural, skin-like finish
- Cream: Provides fuller, more luminous coverage with a dewy glow
- Powder: Gives a matte, oil-controlling finish with a lightweight, buildable coverage
- Stick: Applies and blends seamlessly for buildable, medium-to-full coverage
- Serum: Combines skincare benefits with light, skin-perfecting coverage
No single formula is universally “better” – it all comes down to your personal skin type, coverage needs, and desired finish. Experiment with different textures and finishes to find your holy grail foundation.
Tips for Finding the Perfect Foundation Shade Match
Once you’ve determined your skin type and narrowed down the right formula, the next step is finding your perfect foundation shade.
This can be trickier than it seems, as factors like lighting, skin undertones, and even your monitor’s color settings can affect how a foundation appears.
Here are some tips to nail your foundation shade match:
- Swatch the foundation on your jawline or neck, not the back of your hand. This will give you a better sense of how it will look on your face.
- Test the foundation in natural lighting, not harsh overhead lights. This will give you a more accurate idea of the undertone and coverage.
- Apply the foundation and check the color in natural daylight – this is when you’ll be able to see how it blends with your skin tone.
- Consider your skin’s undertones when selecting a shade. If you have cool undertones, go for a foundation with pink or blue undertones. Warm undertones call for foundations with yellow or golden hues.
- Don’t be afraid to mix and blend shades to create your perfect custom match.
With the right foundation formula and shade, you’ll be well on your way to a flawless, even-toned complexion.
Step-by-Step Guide to Applying Foundation Like a Pro
Prepping the Skin with Primer
Achieving a seamless, long-lasting foundation application starts with proper skin prep.
Applying a primer before foundation helps create an ultra-smooth, even canvas for your makeup, while also addressing specific skin concerns.
Look for a primer formulated for your skin type:
- Hydrating primers for dry skin
- Mattifying primers for oily complexions
- Color-correcting primers to neutralize redness or dullness
Gently massage the primer into clean, moisturized skin using your fingertips or a makeup sponge. Allow it to fully absorb before moving on to foundation.
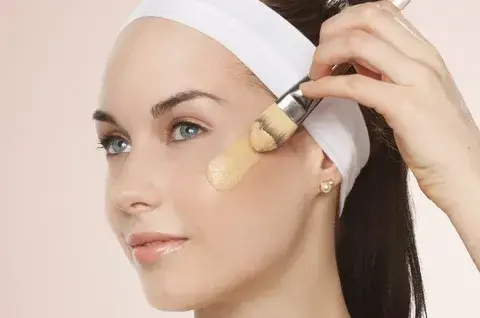
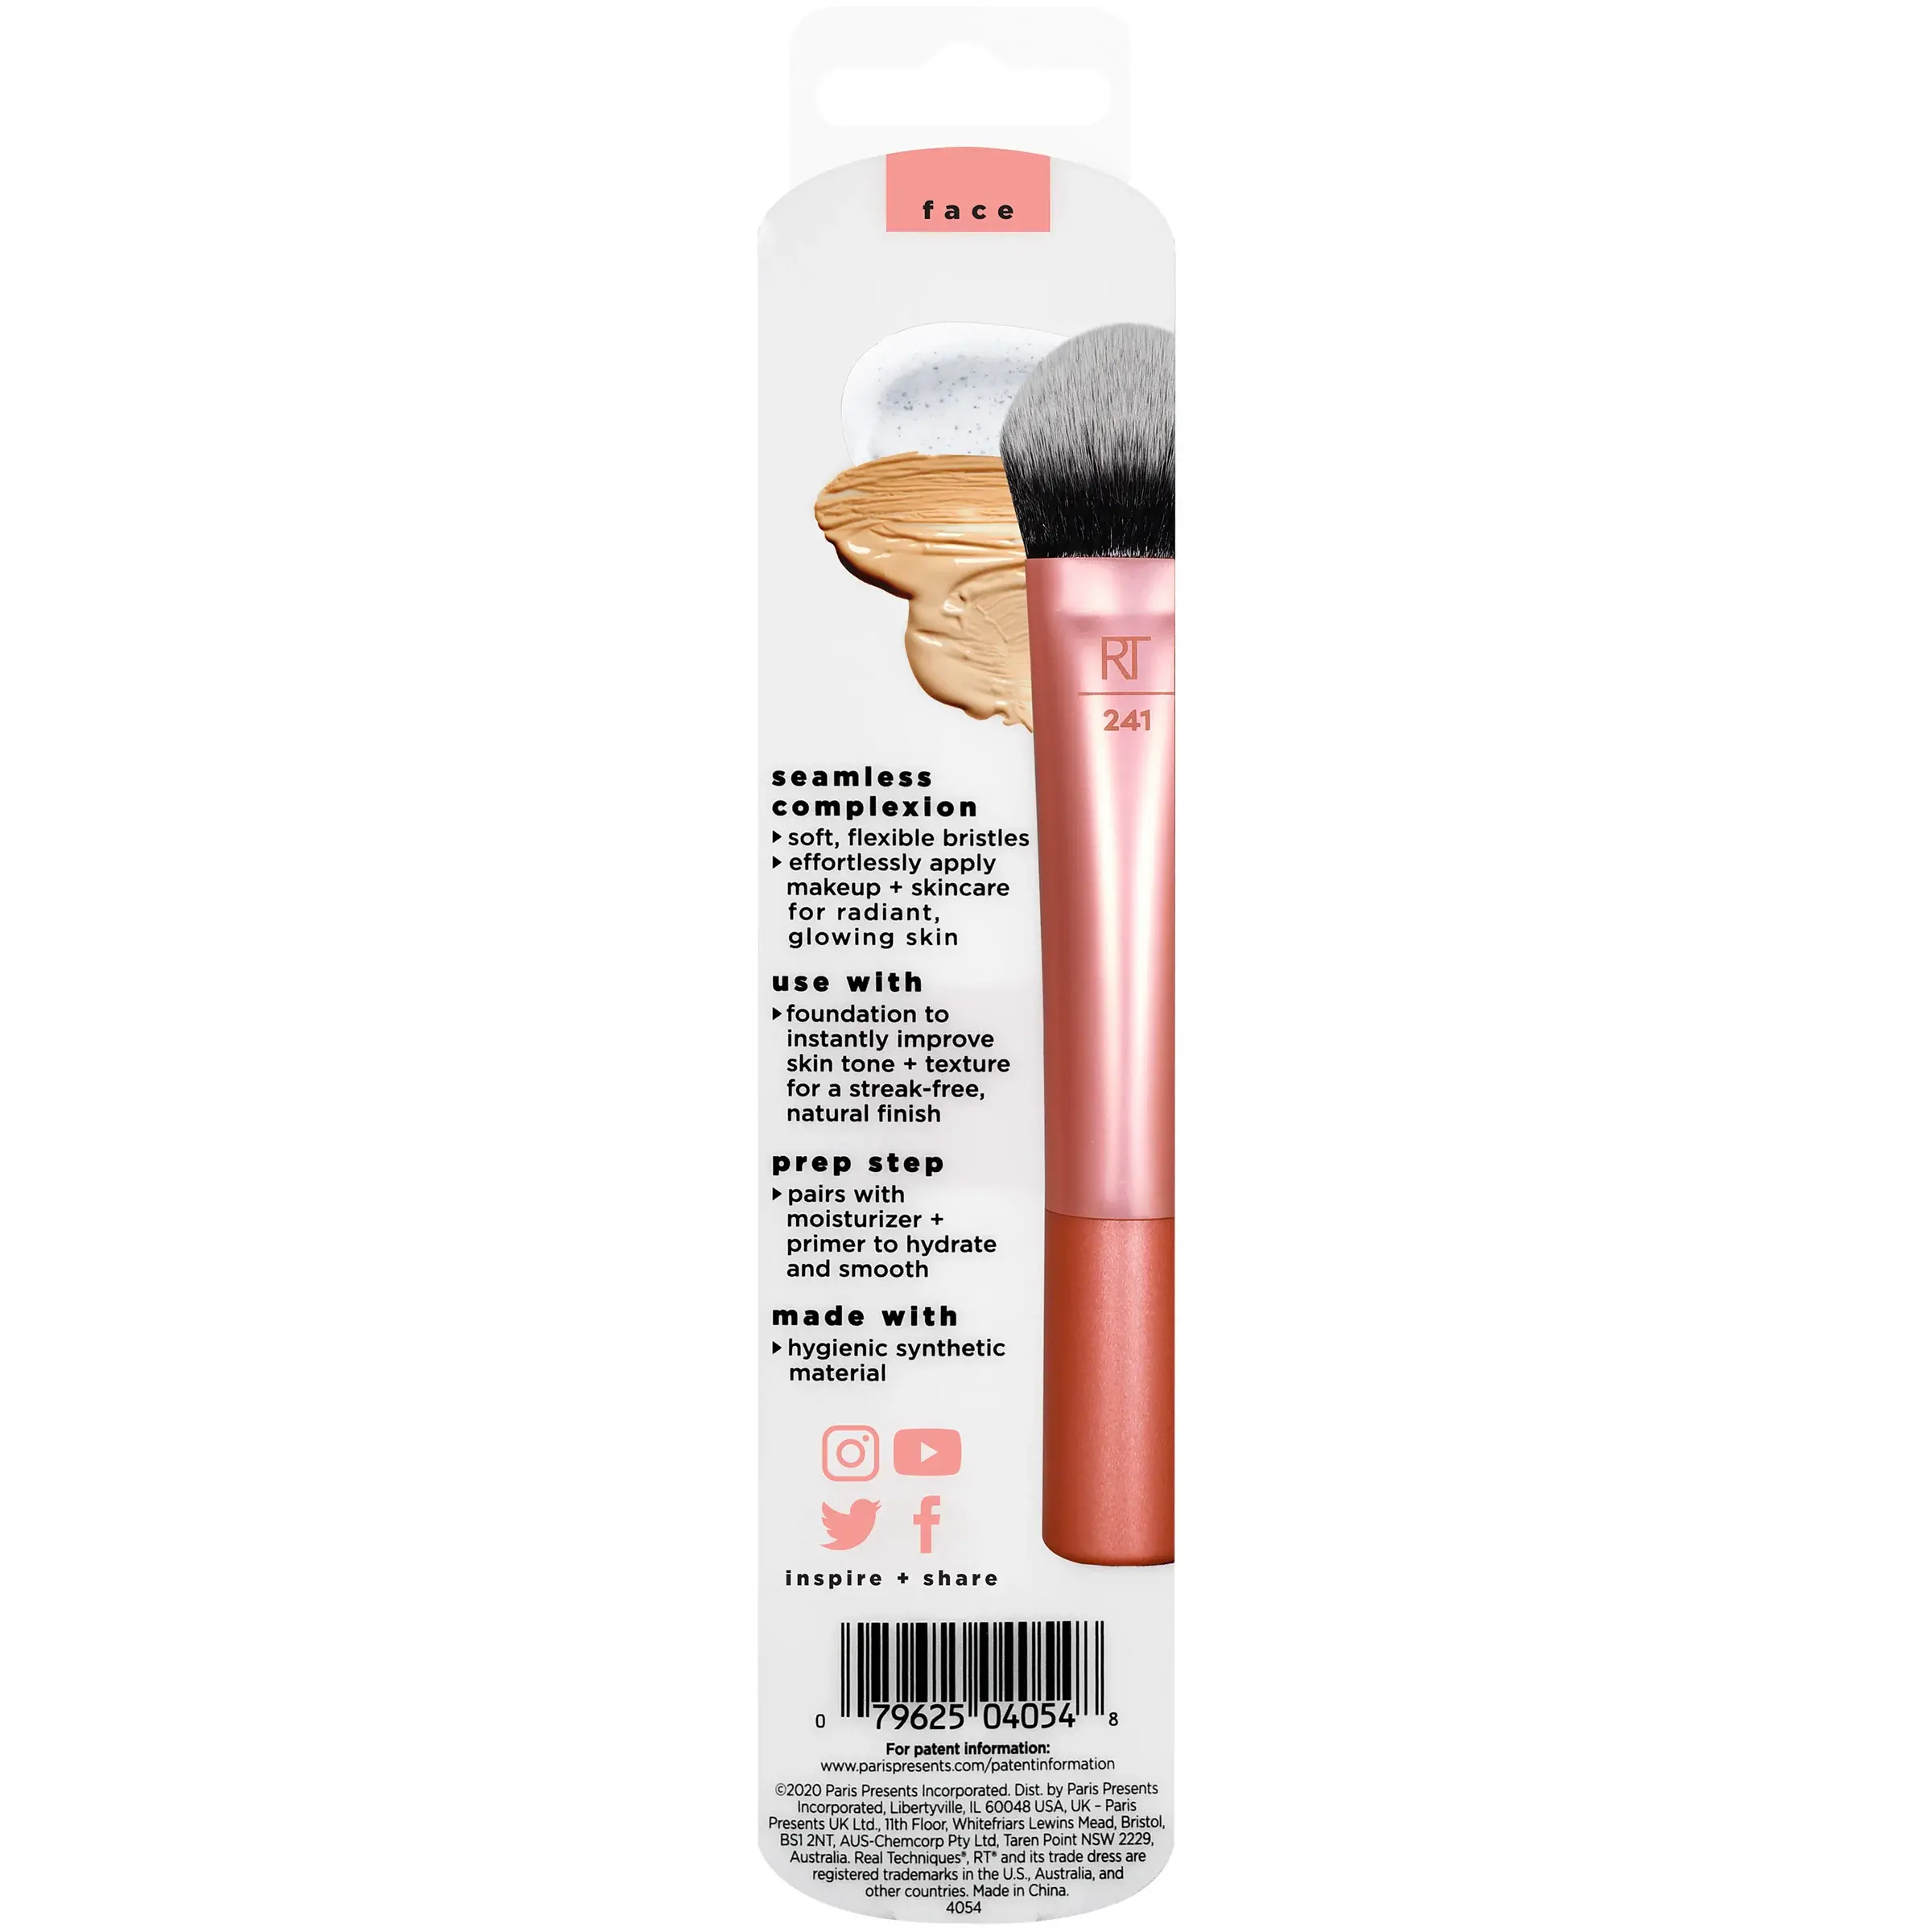
Using the Right Foundation Application Tools
There are a few different tools you can use to apply foundation for flawless, even coverage:
- Fingers: Provides the most natural, skin-like finish but can be messy
- Makeup brushes: Buffing brushes give a airbrushed look, while flat-topped brushes offer more coverage
- Makeup sponges: Damp sponges help “press” foundation into the skin for a seamless blend
The key is to find the application method that works best for your skin type and desired finish. Experiment with a few different tools to see what gives you the most natural-looking, streak-free results.
For example, those with dry skin may prefer using their fingertips to warm up and melt the foundation into the skin.
Oily types may find that a dense, kabuki-style brush helps control shine and creates a smoother, more perfected finish.
And combination skin can benefit from the versatility of a damp makeup sponge, which can be used to both stipple on coverage and buff out edges.
Techniques for Seamless, Streak-Free Blending
Once you’ve chosen your foundation and application tools, it’s time to start blending. The key to achieving a natural, second-skin effect is using gentle, circular motions to gradually build up coverage.
Here are some pro tips for seamless foundation blending:
- Start in the center of your face and work outward, blending edges thoroughly to avoid harsh lines
- Dab or stipple the foundation onto the skin first, then use sweeping motions to blend
- For heavier coverage, apply foundation in thin, buildable layers rather than one thick application
- Be sure to blend down the neck and jawline to create a cohesive, unified look
- Set a damp makeup sponge to gently “press” foundation into the skin for a natural finish
With the right blending technique, you can achieve a flawless, airbrushed look that makes your skin appear naturally even and radiant.
Tricks for Achieving a Natural, Second-Skin Finish
While full-coverage foundation can certainly have its place, the most flattering, skin-perfecting looks often come from a more natural, second-skin effect.
Here are a few tricks to achieve that seamless, luminous finish:
- Mix a small amount of foundation with moisturizer or facial oil for a sheerer, more hydrating application
- Spot-conceal only where needed, rather than all-over full coverage
- Warm up the foundation on the back of your hand before applying to skin
- Finish with a setting spray to melt the makeup into the skin for a naturally radiant glow
The key is to focus on enhancing your complexion rather than completely covering it. With the right techniques, you can achieve a flawless, filtered look that still lets your natural skin shine through.
Setting Foundation with Powder or Setting Spray
To ensure your foundation lasts all day without caking or settling into fine lines, it’s important to set it properly.
You can do this with either a setting powder or a hydrating setting spray, depending on your skin type and desired finish.
Setting Powders:
- Finely-milled, translucent powders work best to blur imperfections and control shine
- Lightly dust powder over the T-zone and any other oily areas using a fluffy brush
- Avoid packing on too much powder, which can make skin look dry or cakey
Setting Sprays:
- Look for hydrating, long-wear formulas to lock in foundation for a dewy, seamless look
- Mist the face in an “X” and “T” pattern, holding the bottle about 6-8 inches away
- The fine mist helps “melt” powder products into the skin for a natural finish
By setting your foundation with the right products, you’ll enjoy long-lasting, transfer-resistant wear without sacrificing a glowing, healthy-looking complexion.
Customizing Your Foundation Routine for Different Makeup Looks
Buildable Coverage for a Flawless, Filtered Effect
One of the best things about liquid and cream foundations is their buildable coverage. This means you can start with a sheer, luminous application and gradually build up to a more full, airbrushed look as needed.
To create a seamless, filtered effect:
- Begin with a small amount of foundation, dotting it around the high points of your face.
- Blend the foundation outward using a damp makeup sponge or stippling brush, working in thin, buildable layers.
- Once you’ve achieved your desired level of coverage, set with a light dusting of powder or a hydrating setting spray.
This technique allows you to target problem areas with extra coverage while keeping the rest of your complexion looking natural and radiant.
It’s perfect for creating a soft-focus, “your skin but better” look that diffuses imperfections while still letting your natural glow shine through.
Using Foundation to Color Correct and Neutralize
In addition to evening out your skin tone, foundation can also be used strategically to color correct any redness, discoloration, or unevenness.
By applying specific shades to the right areas, you can neutralize and camouflage imperfections for a flawless, seamless complexion.
Common Color Correcting Needs and Solutions:
- Green-tinted foundations neutralize redness
- Yellow-based formulas counteract purple/blue tones
- Peach or salmon shades minimize dark circles
- Lavender or lilac shades brighten dull, sallow skin
Once you’ve applied your color correcting base, simply blend your regular foundation over top for a perfected, even-toned complexion.
This multi-step approach ensures your makeup looks natural and seamless, while still addressing any discoloration or unevenness.
Mixing Foundations for a Personalized Shade
Can’t find your exact foundation match in stores? No problem! By mixing two (or more) complementary shades, you can create a completely custom foundation formula tailored to your unique skin tone.
Here’s how to mix foundations like a pro:
- Identify the undertones in your skin – are they cool, warm, or neutral? This will determine which foundation shades to combine.
- Squeeze out small amounts of the two closest-matching foundation shades onto the back of your hand.
- Using a makeup spatula or the back of a brush, gradually mix the two shades together until you achieve your perfect skin-matching hue.
- Apply the custom blend to your face, blending seamlessly for a natural, undetectable finish.
Mixing foundations allows you to achieve the exact level of coverage, luminosity, and undertone match that your complexion needs. It’s a great hack for creating a truly personalized base that works in harmony with your unique skin tone.
Layering with Concealer for Extra Coverage
For areas that need extra coverage – like dark circles, blemishes, or discoloration – you can layer concealer over your foundation for a more perfected, airbrushed look.
The key is to apply concealer after your foundation, starting with a small amount and building up coverage as needed.
Gently dab or stipple the concealer onto the skin using your fingers or a small, dense brush. Blend the edges thoroughly to ensure a seamless transition between foundation and concealer.
Be sure to set the concealer with a light dusting of powder to lock it in place and prevent creasing or settling throughout the day.
This technique allows you to target and camouflage specific problem areas without disrupting the overall flawless, natural-looking base.
Common Foundation Mistakes to Avoid
Even the most seasoned makeup pros can fall victim to a few common foundation faux pas. Steer clear of these pitfalls for a flawless, long-lasting makeup look:
Not Properly Preparing the Skin
Skipping essential skin prep steps like cleansing, moisturizing, and priming can lead to patchy, uneven foundation application. Always start with a clean, hydrated canvas for the smoothest possible makeup result.
Applying Too Much or Too Little Product
Too much foundation can look cakey and unnatural, while not enough coverage won’t effectively even out your complexion. Start with a small amount and build up in thin, blendable layers as needed.
Forgetting to Blend Edges and Hairline
Failing to thoroughly blend the foundation outward and down the neck can result in a noticeable, unnatural-looking demarcation line. Take the time to seamlessly diffuse the edges for a seamless, second-skin finish.
Selecting the Wrong Undertone or Formula
Choosing a foundation that doesn’t match your skin’s undertones or isn’t formulated for your specific skin type can lead to an off-kilter, unflattering look. Do your research to find your perfect foundation match.
Foundation Care & Maintenance Tips
Storing Foundation Properly to Preserve Freshness

To keep your foundation performing at its best, it’s important to store it properly. Always keep liquid and cream formulas in a cool, dark place not in direct sunlight or extreme temperatures.
This will help prevent the formula from separating or drying out prematurely.
It’s also a good idea to store your foundation upright rather than on its side. This helps maintain the integrity of the formula and prevents leakage or product waste.
And be sure to tightly secure the cap or lid when not in use to avoid drying out.
By taking these simple storage steps, you can extend the shelf life of your foundation and ensure it applies smoothly and evenly every time.
Cleaning Foundation Brushes and Sponges
Proper tool cleanliness is crucial for maintaining a flawless, bacteria-free foundation application. Wash your brushes and makeup sponges regularly with a gentle brush cleanser or mild soap and water.
This will remove any residual product buildup and keep your application tools fresh.
For brushes, aim to clean them at least once a week (or after every use if you have oily skin).
Simply run the bristles under lukewarm water, lather with a small amount of cleanser, and rinse thoroughly until the water runs clear. Reshape the bristles and allow them to fully air-dry before using again.
Makeup sponges should be cleaned after every use, as they can quickly accumulate product, dirt, and bacteria.
Gently squeeze the sponge under running water, massaging in a small amount of cleanser until the water runs clear. Squeeze out excess moisture and allow it to fully dry before the next use.
Keeping your foundation tools clean and sanitized will not only improve the quality of your makeup application, but also help prevent breakouts and skin irritation.
Signs It’s Time to Toss an Expired Foundation
Like most makeup products, foundations do have a shelf life. Look for signs that it’s time to replace your foundation, such as a change in texture, smell, or color.
If the formula has separated, thickened, or developed an off odor, it’s best to toss it and start fresh.
As a general rule of thumb, liquid and cream foundations typically last 6-12 months after being opened. Powder formulas can last a bit longer, around 12-18 months.
Always check the manufactured and expiration dates stamped on the packaging.
Other telltale signs of an expired foundation include:
- Flaking or caking on the skin
- Difficulty blending or applying smoothly
- Increased oxidation or color change
- Irritation or breakouts after use
When in doubt, it’s always better to err on the side of caution and replace any questionable foundation products. Expired makeup can harbor bacteria and cause skin issues, so it’s not worth the risk.
Reviving Dried-Out or Cakey Foundation
If your foundation starts to look a little worse for wear – whether it’s dried out, cakey, or just not blending as seamlessly as it once did don’t despair.
You can often revive it by mixing in a few drops of facial oil or hydrating setting spray. This will rehydrate the formula and restore a natural, luminous finish.
Start by squeezing a small amount of the foundation onto the back of your hand. Then, add 1-2 drops of a face oil or facial mist and use a makeup spatula or the back of a brush to thoroughly mix the two together.
The adde moisture will help melt the product back to its original creamy, blendable consistency.
Remember to test the revived formula on a small area of your face first to ensure it still matches your skin tone and applies smoothly.
If needed, you can repeat the process until you achieve the desired fluidity and coverage.
This simple trick can breathe new life into otherwise unusable foundations, saving you time and money in the long run.
Frequently Asked Question (FAQs)
Q: What do we apply before foundation?
A: Primer.
Q: How to choose foundation shade?
A: Requires a clear understanding of your skin tone.
Q: Can I apply foundation daily?
A: Yes, it is absolutely OK and safe to use foundation makeup every day.
Q: What is the most natural way to apply foundation?
A: Use a damp sponge.
Q: Can I sleep with foundation on?
A: Sleeping in makeup is not great for your skin.
Conclusion about foundation
Mastering the art of flawless foundation application is the key to achieving a polished, airbrushed makeup look.
By understanding your unique skin type and tone, selecting the right formula and tools, and perfecting your blending techniques, you can create a seamless, natural-looking base that enhances your complexion.
With the tips and tricks outlined in this comprehensive guide, you’ll be able to customize your foundation routine to suit any makeup look or occasion.
From buildable, filtered coverage to strategic color correcting, the possibilities are endless when you have the right foundation.